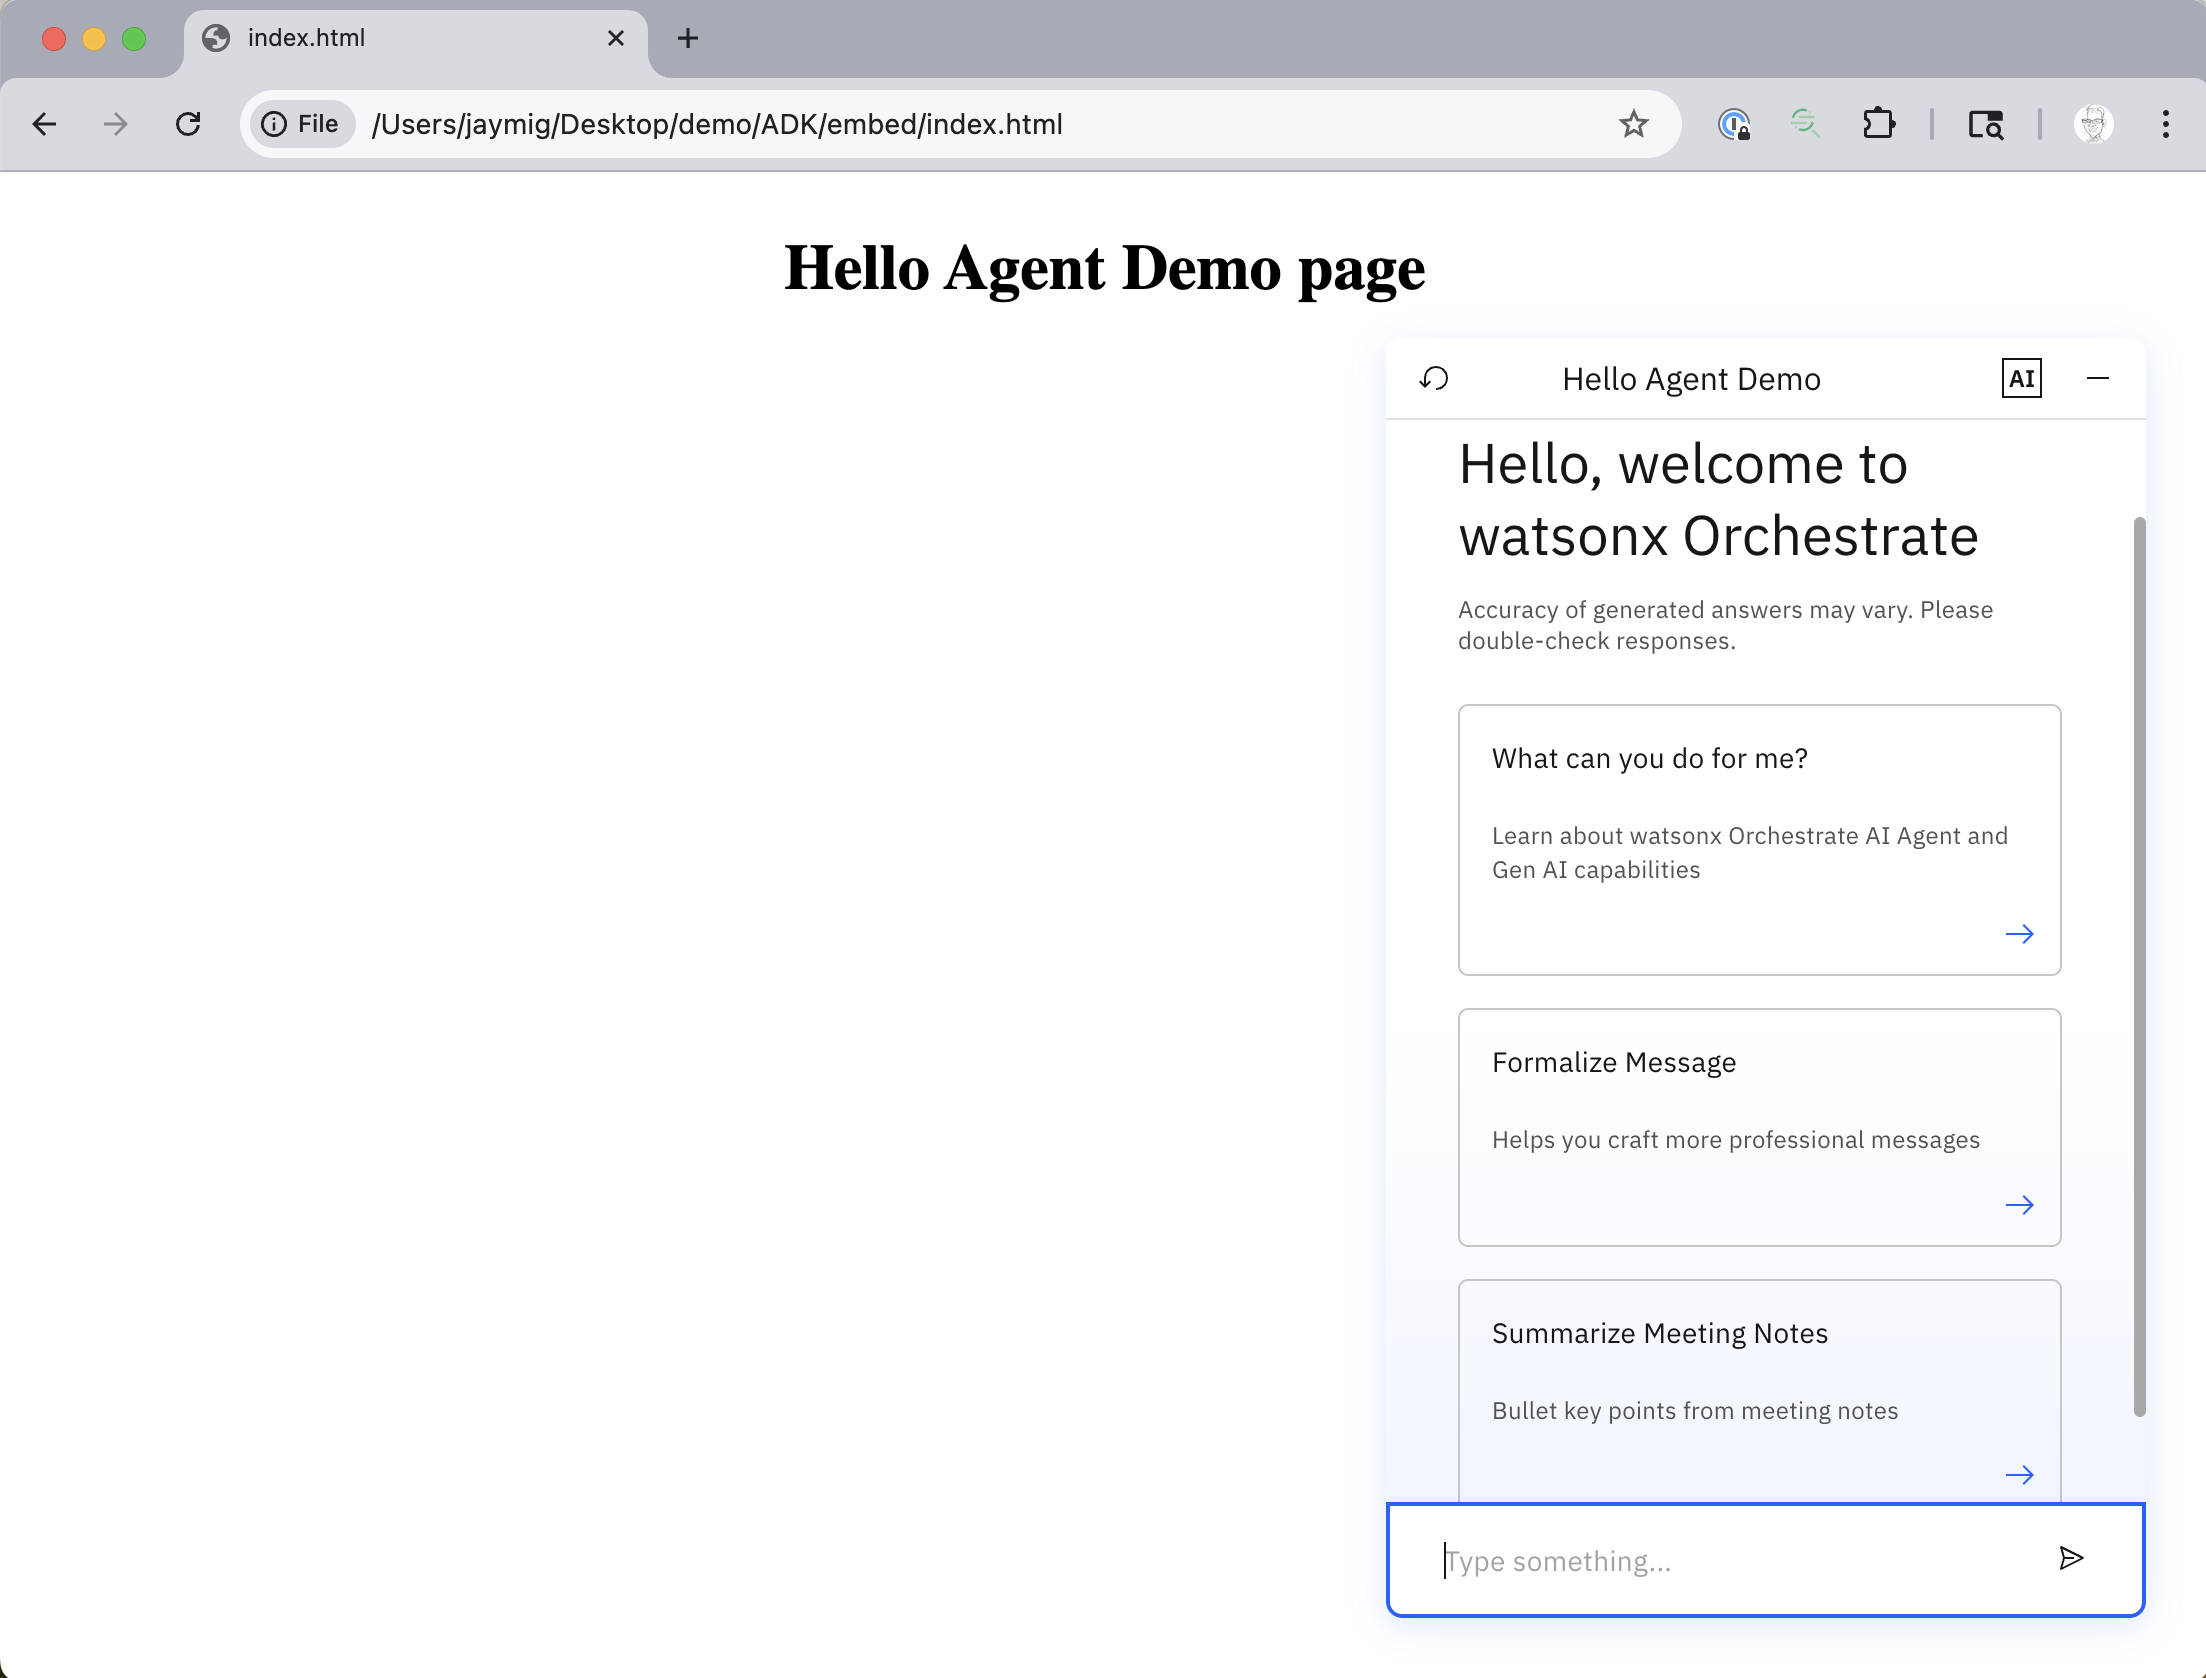
Embedded Hello World
Note
This tutorial requires the use of the Agent Development Kit (ADK). Installation of the ADK is outside of the scope of these tutorials. Please see the ADK installation documentation for details.
Note
Watsonx Orchstrate has enabled embedded security by default, which is a good setting for production use, but may not be necessary for simple and short duration demonstrations of embedded Watsonx Orchestrate. The instructions below will only work if you have disabled security, which is only possible using the ADK. Please see the ADK documentation for details on how how to configure security. The next tutorial will guide you through setting up security, keys and a secure embedded web chat.
Once you have completed your first Hello World Agent, follow the steps below to learn how to embed your agent in a simple web page. This tutorial follows these ADK instructions.
End Result
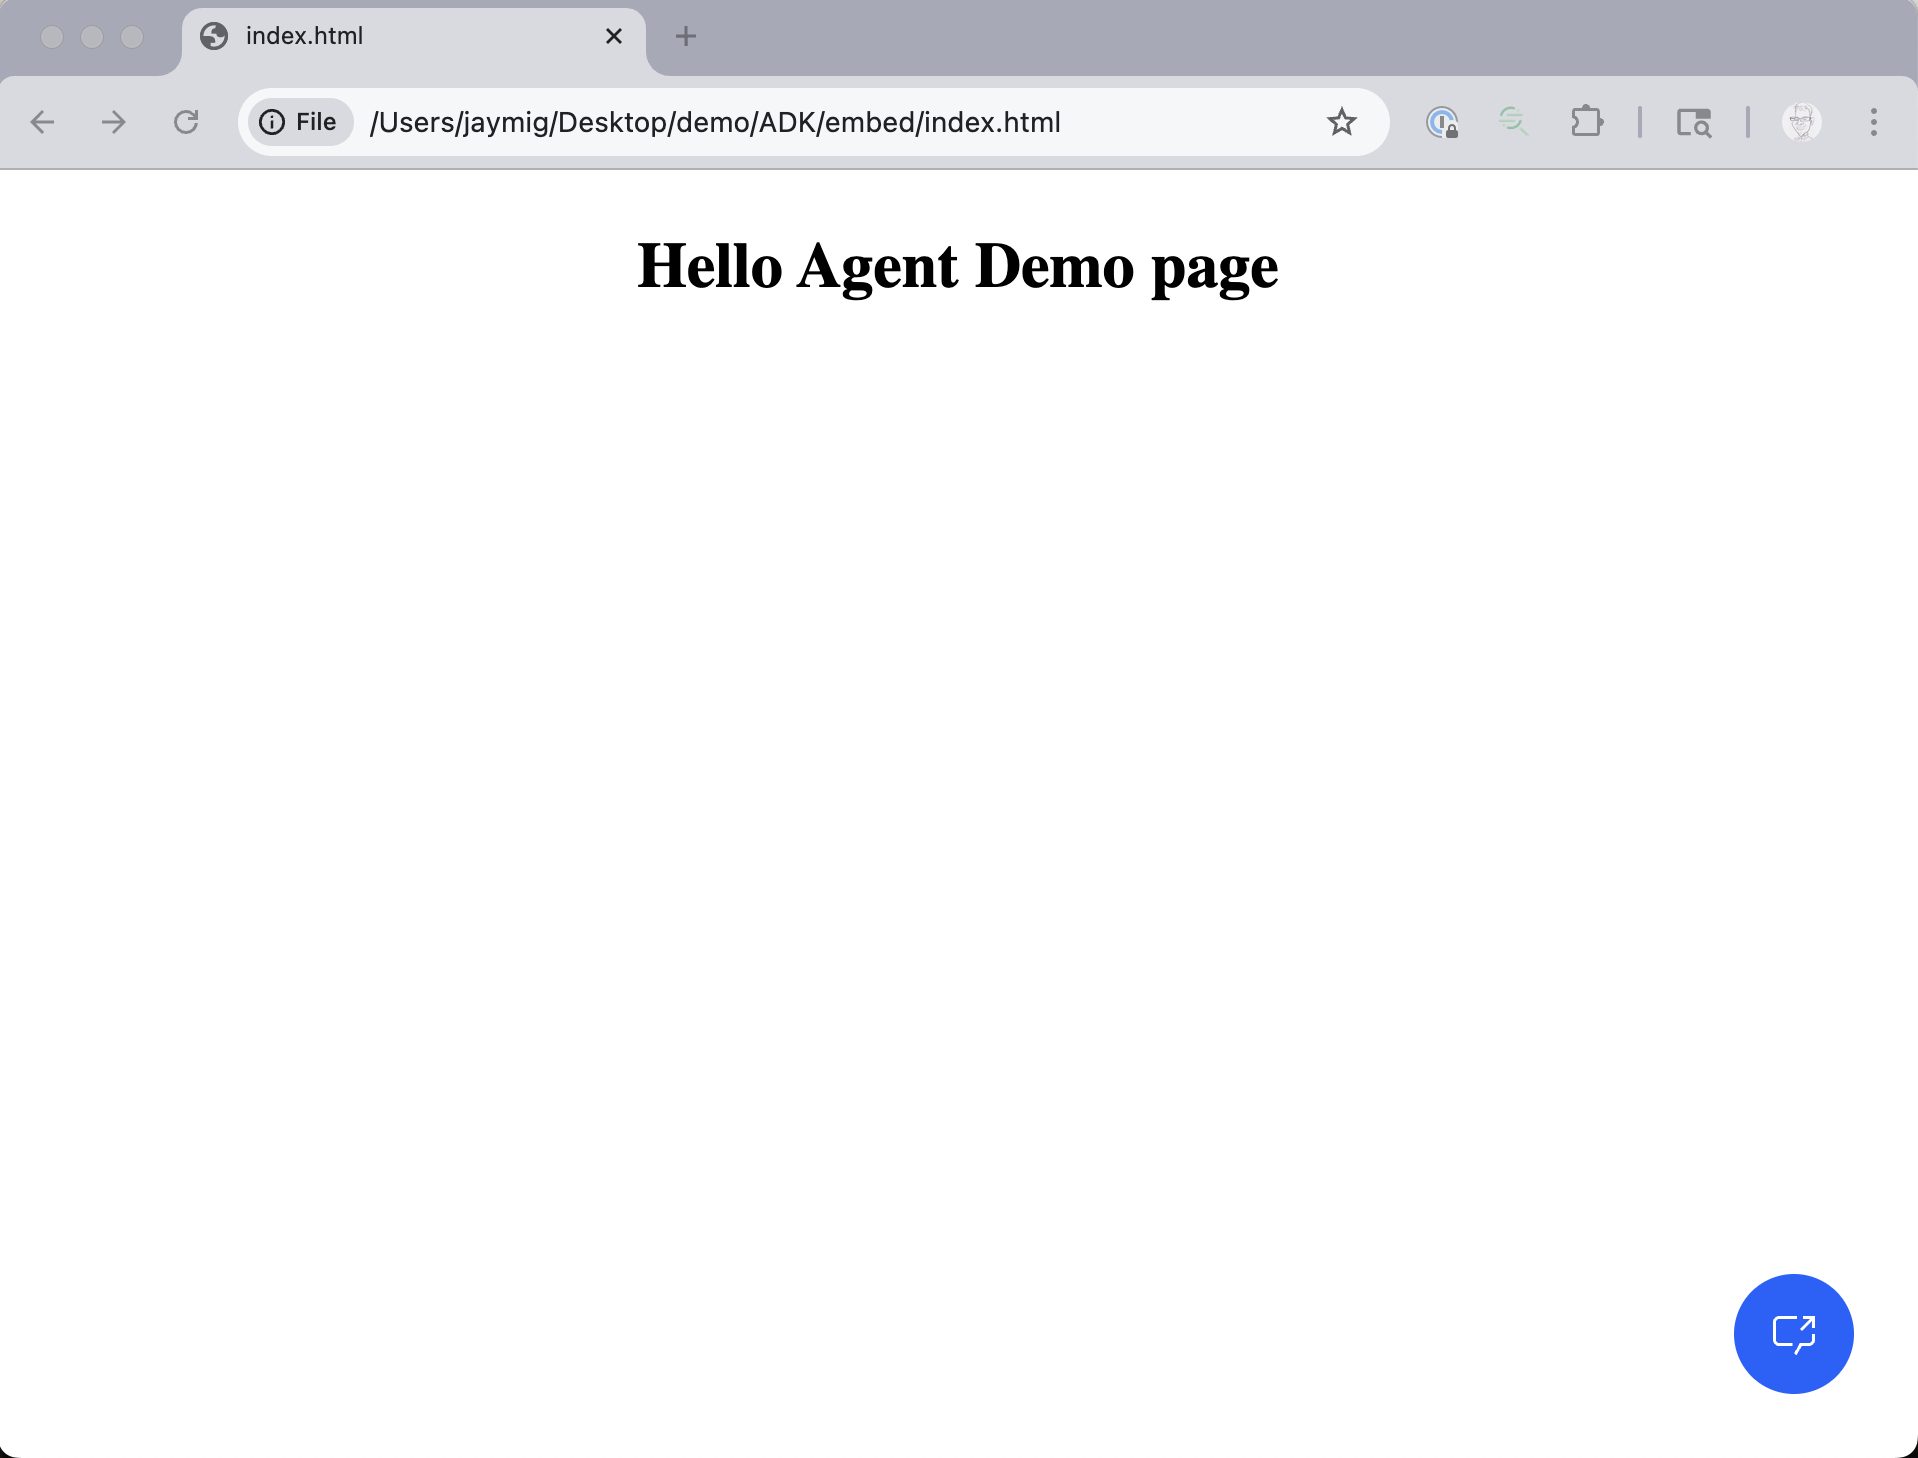
At the end of this tutorial, you should have a simple web page with an chat icon in the corner, that opens up a chat with your Hello World agent.
Step by Step instructions
The following steps guild you through creating a simple web page with an embedded "Hello World" agent.
-
Create a text file with the following content, and save it at index.html
-
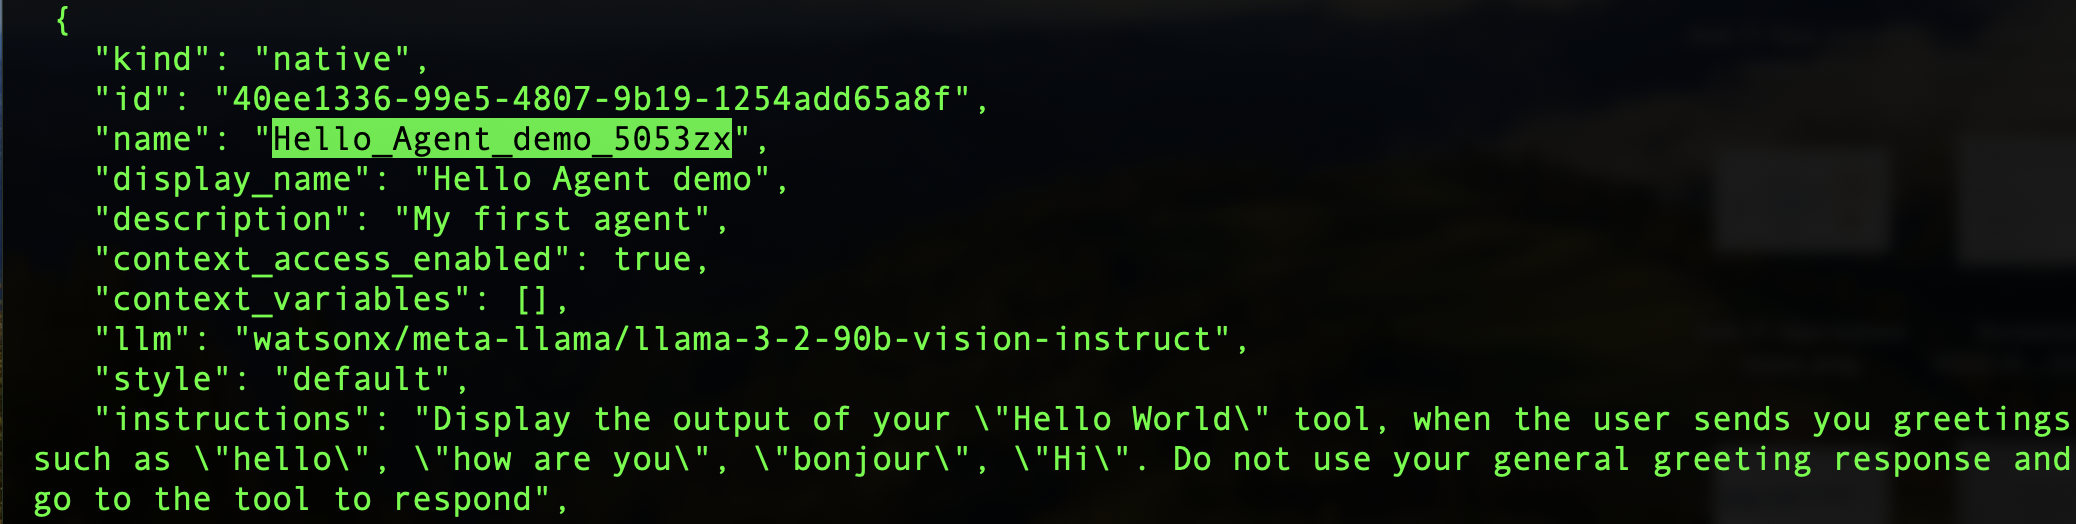
Find your agent name, by listing the agents If you only have one agent on your server, you can just list agents and you should see the name
If you have many agents, you may need verbose mode, piped to less, where you can scroll or use the "/" to search for your agent Here you can see the details of my agent where I have highlighted the name
-
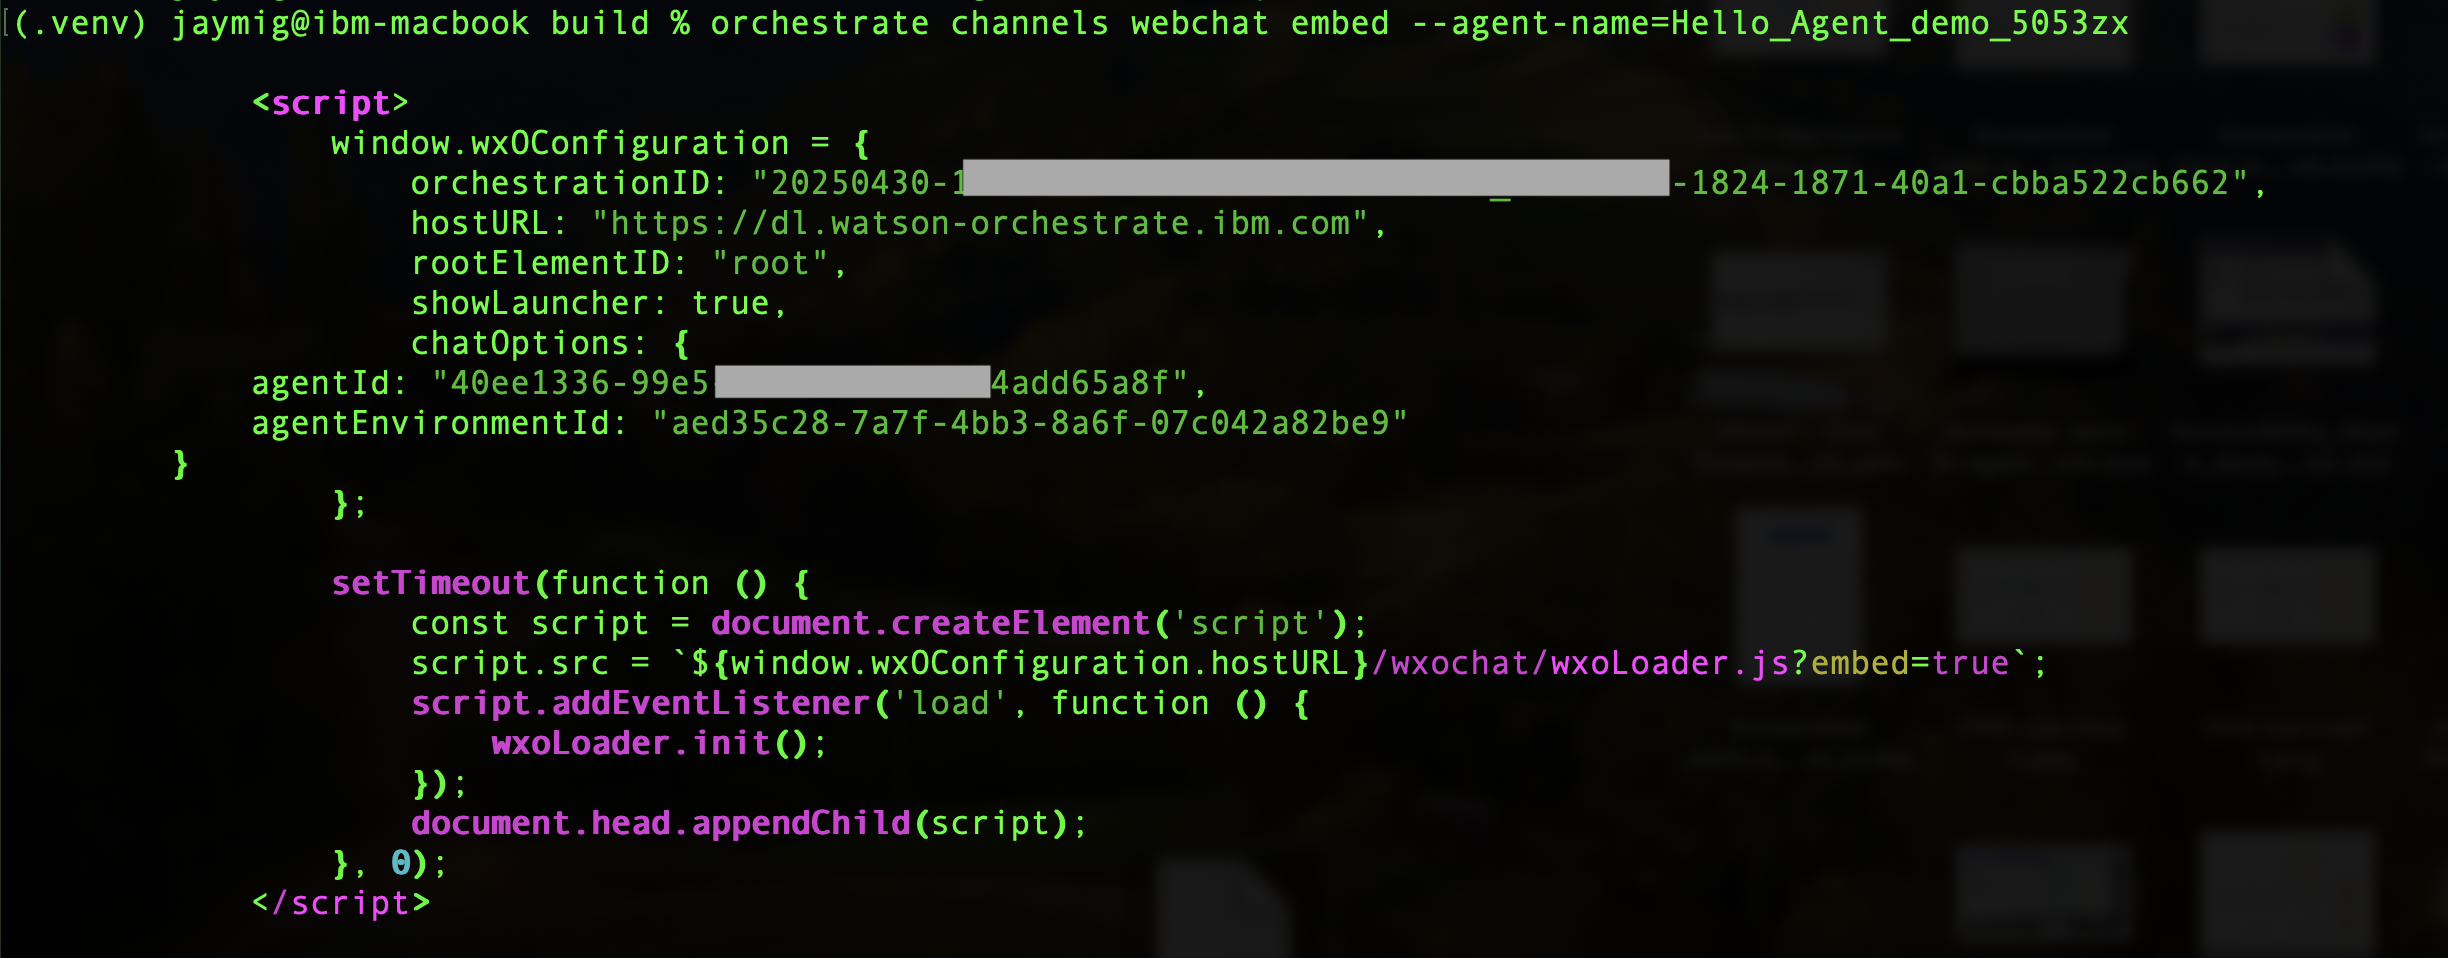
Use the orchestrate channels command to obtain the embed script
The output should look like this:
-
Copy that content into your index.html page in side of the
section. The final file should look something like this (note I have obfuscated my agent and orchestration id):<!DOCTYPE html> <html lang="en"> <head> <meta charset="UTF-8"> <title>Hello Agent Demo</title> <style> h1 { text-align: center; } </style> </head> <body> <h1>Hello Agent Demo page</h1> <script> window.wxOConfiguration = { orchestrationID: "20250430-1111-2222-40a1-cbba52234762", hostURL: "https://dl.watson-orchestrate.ibm.com", rootElementID: "root", showLauncher: true, chatOptions: { agentId: "2c356c54-abcd-efgh-a4aa-272dc788903a", agentEnvironmentId: "9d9e9ac5-1c7e-47e7-a8cd-bb1b665c206c" }, }; setTimeout(function () { const script = document.createElement('script'); script.src = `${window.wxOConfiguration.hostURL}/wxochat/wxoLoader.js?embed=true`; script.addEventListener('load', function () { wxoLoader.init(); }); document.head.appendChild(script); }, 0); </script> </body> </HTML> -
Congratulations. You finished your first embedded agent.
Chat with the Agent
Now you can open the index.html file using your favorite browser, and you will see a blank page with a blue chat icon in the botton right corner, which looks like this:
Click on the blue icon and you will see the chat bot appear.