User Context agent
This tutoral introduces context variables. You are instructed how to deploy an agent which has been enabled with the wxo_user_name and wxo_email_id context variables and two tools that can read and display the values of those variables.
These two context variables are the best to start with, since the default watsonx Orchstate chat portal sets the value of the variables during the session. Custom context variables are covered in a subsequent article(wip).
Note
This tutorial requires the use of the Agent Development Kit (ADK). Installation of the ADK is outside of the scope of these tutorials. Please see the ADK installation documentation for details.
Note
The agent spec file includes customized welcome message and starter prompts. Please see the Starter Prompt documentation for details.
More information on context varibles is located in this ADK documentation
In this tutorial you will:
-
Add tools to your tenant which are able to read and display the
wxo_user_nameandwxo_email_idcontext variables. -
Import an agent that is configured with support for the context variables.
-
Interact with the agent and have it display the values of the variables.
-
The examples used in this tutorial are located in the user_info folder of this git repository. The repo contains deploy script which can be used to install the agent and tools. Alternatively, you can follow the step by step instructions below.
Import the tools
-
Download the example python tool spec file and the reqiurements.txt file into your 'demo' folder.
-
Import the tool file using the below command line
NOTE: It is important that you are running the 'orchestrate' command from the same directory as the user_context.py and requirements.txt files.
NOTE: This python file actually includes two tools.
You should see an output as follows: -
Confirm that the tools were installed by listing the existing tools
If you see a knowledge base with the namesession_contextanduser_info, congratulations. It is time to import the agent that will use these tools.
Import the agent
The following steps guide you through importing the agent that is configured to use the tools that you imported in the previous section. If the tools were not imported, this step will fail with an error message.
-
Download the agent spec file into your 'demo' folder.
-
Import the agent configuration file with the following command
If successful, you should see the following message:
Congratulations! Your agent is imported. You can verify that it works by logging into Watsonx Orchestrate and chatting with it.
Chat with the Agent
Log into watsonx Orchestrate and navigate to the build pages. You should see your newly imported agent at the top.
Click on the Welcome agent agent icon to access the agent builder. You can interact with it right there in the builder experience using the customized starter prompts. This agent is configured with two starter prompts, one for each tool.
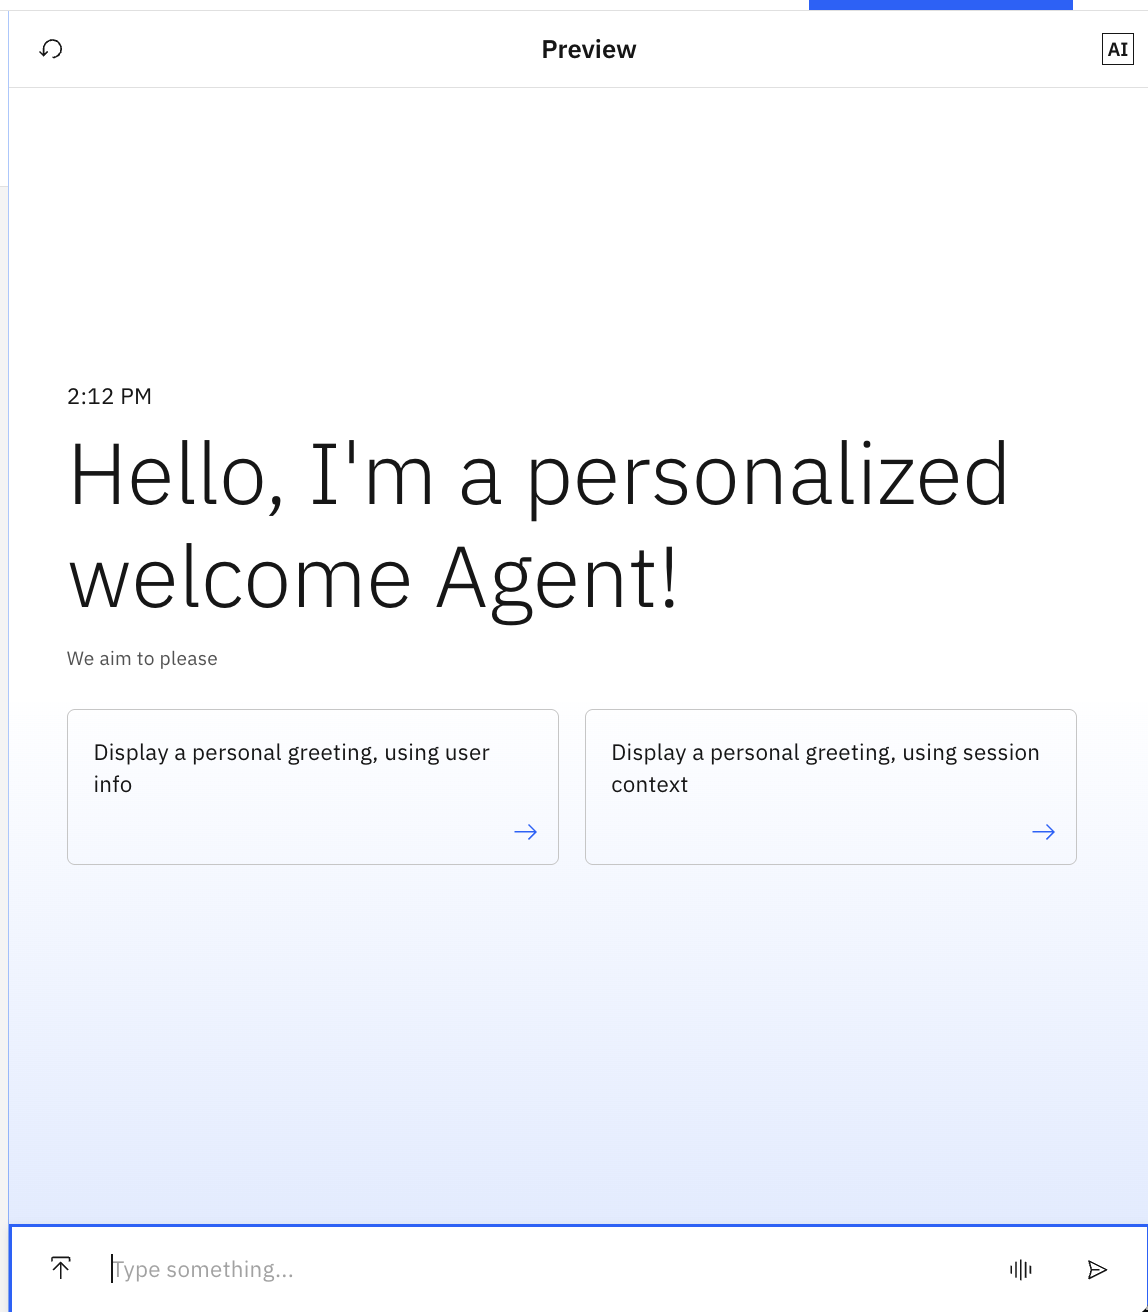
The user_info tool is configured to receive the context variables from the agent, when the agent calls the tool. You can see that in the tool definition:
The session_context tool is configured to read the context variables from the session. You can see that this tool uses a specfic library and tool definition: