Hello World API
Objective
This tutorial guide you through configuring your Insomnia client to fetch an authentication token from the Watsonx Orchestrate API. These tokens are required to interact with all of the other APIs.
Authenticating with your tenant - step by step
If this is your first time using Insomnia, I reccomend you create a new Project where we sill create HTTP calls, and also an environment where we will store API keys, and other end point information.
-
Click on the "+" icon in the upper right hand corner of Insomnia to create a new project, and give the project a name.
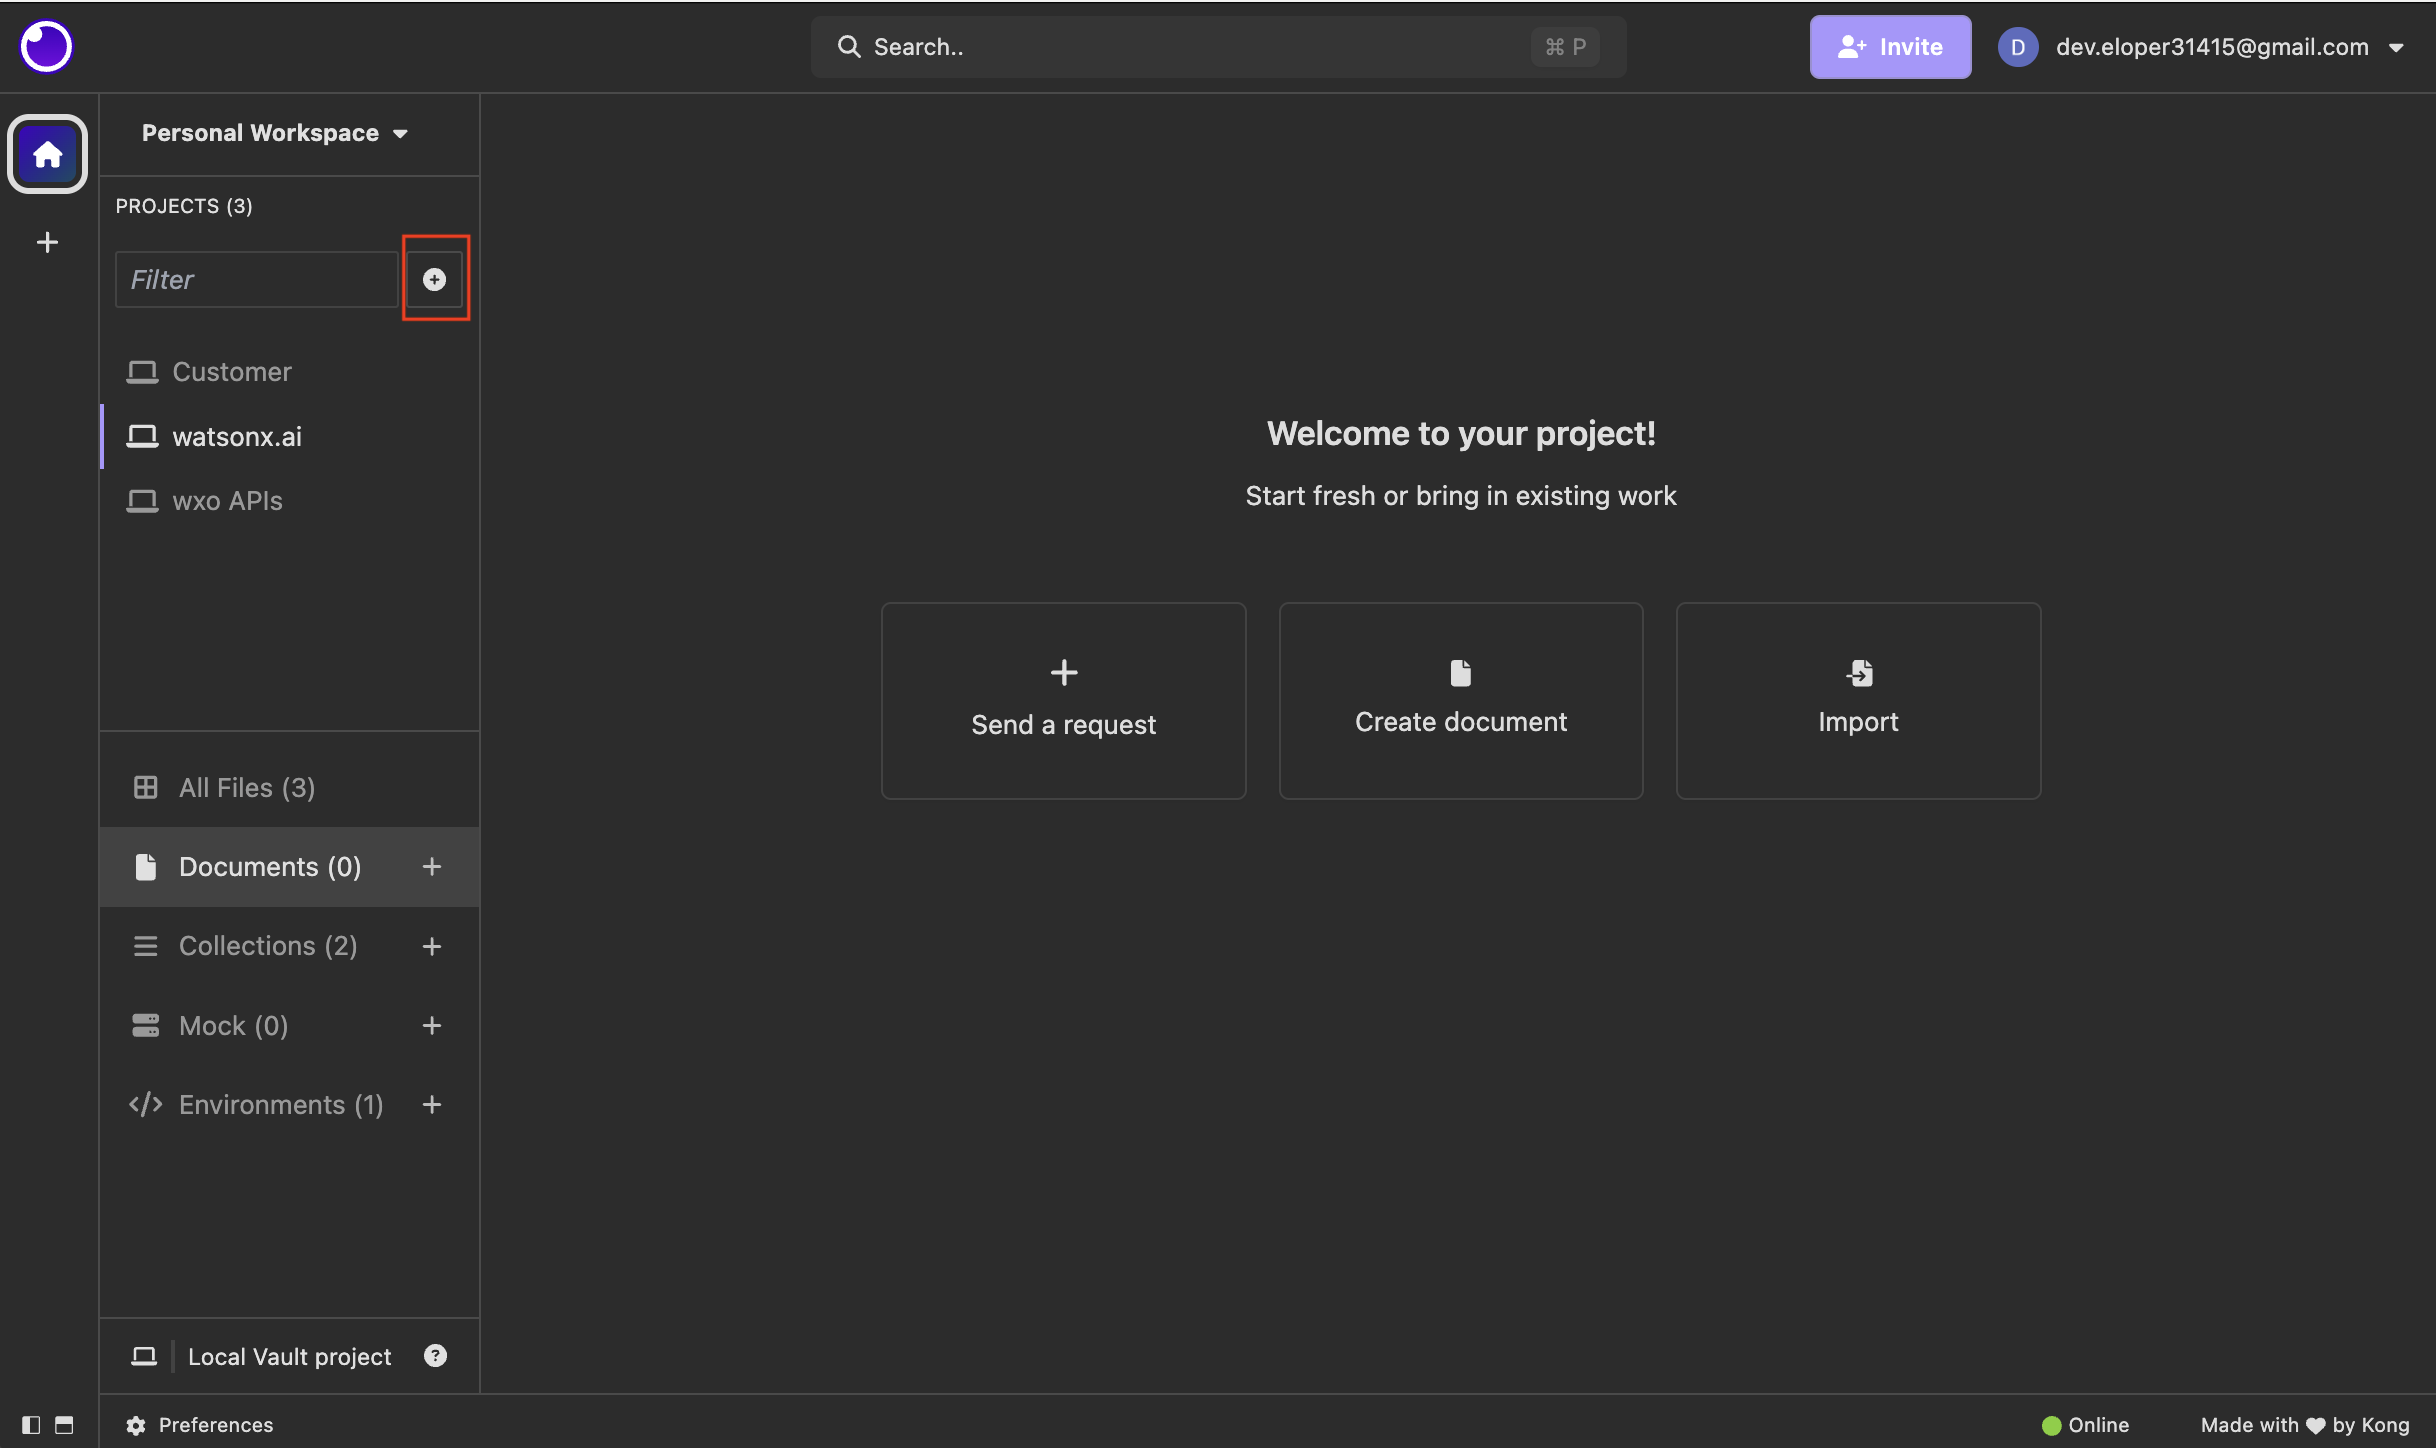
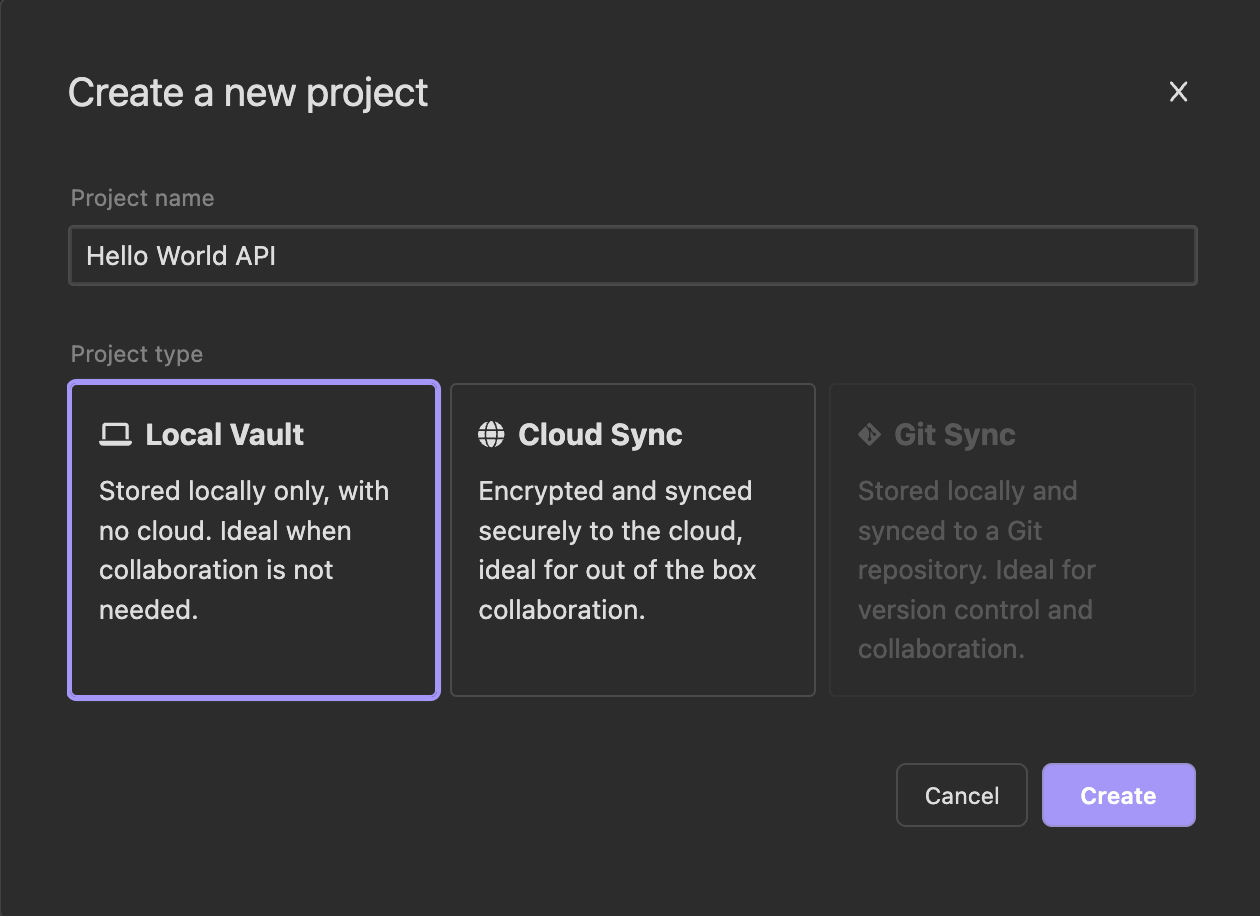
-
Create a new Environment by clicking on the "+" icon to the rigth of the Environments label. Give your new environment a name.
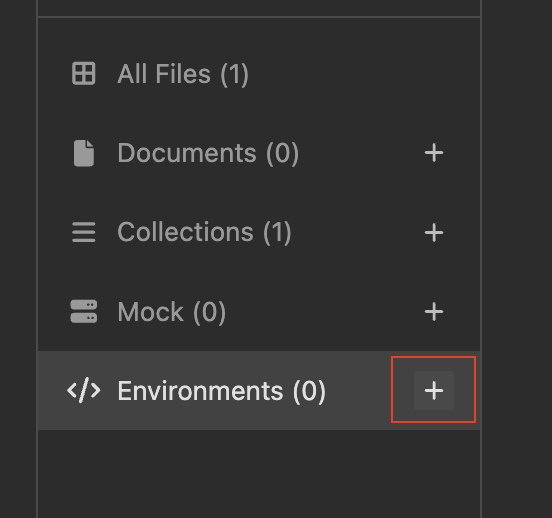
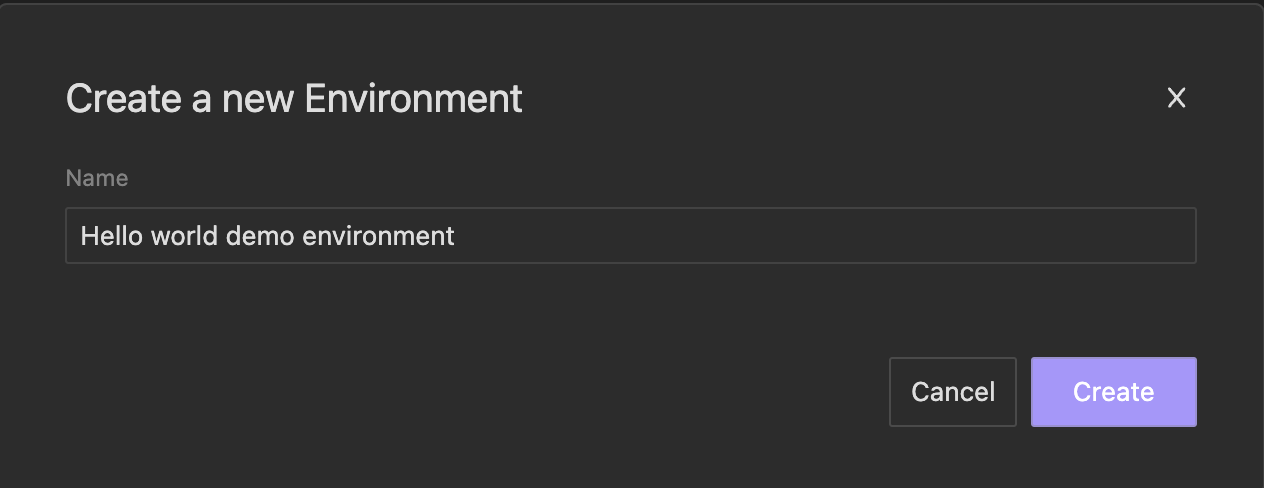
-
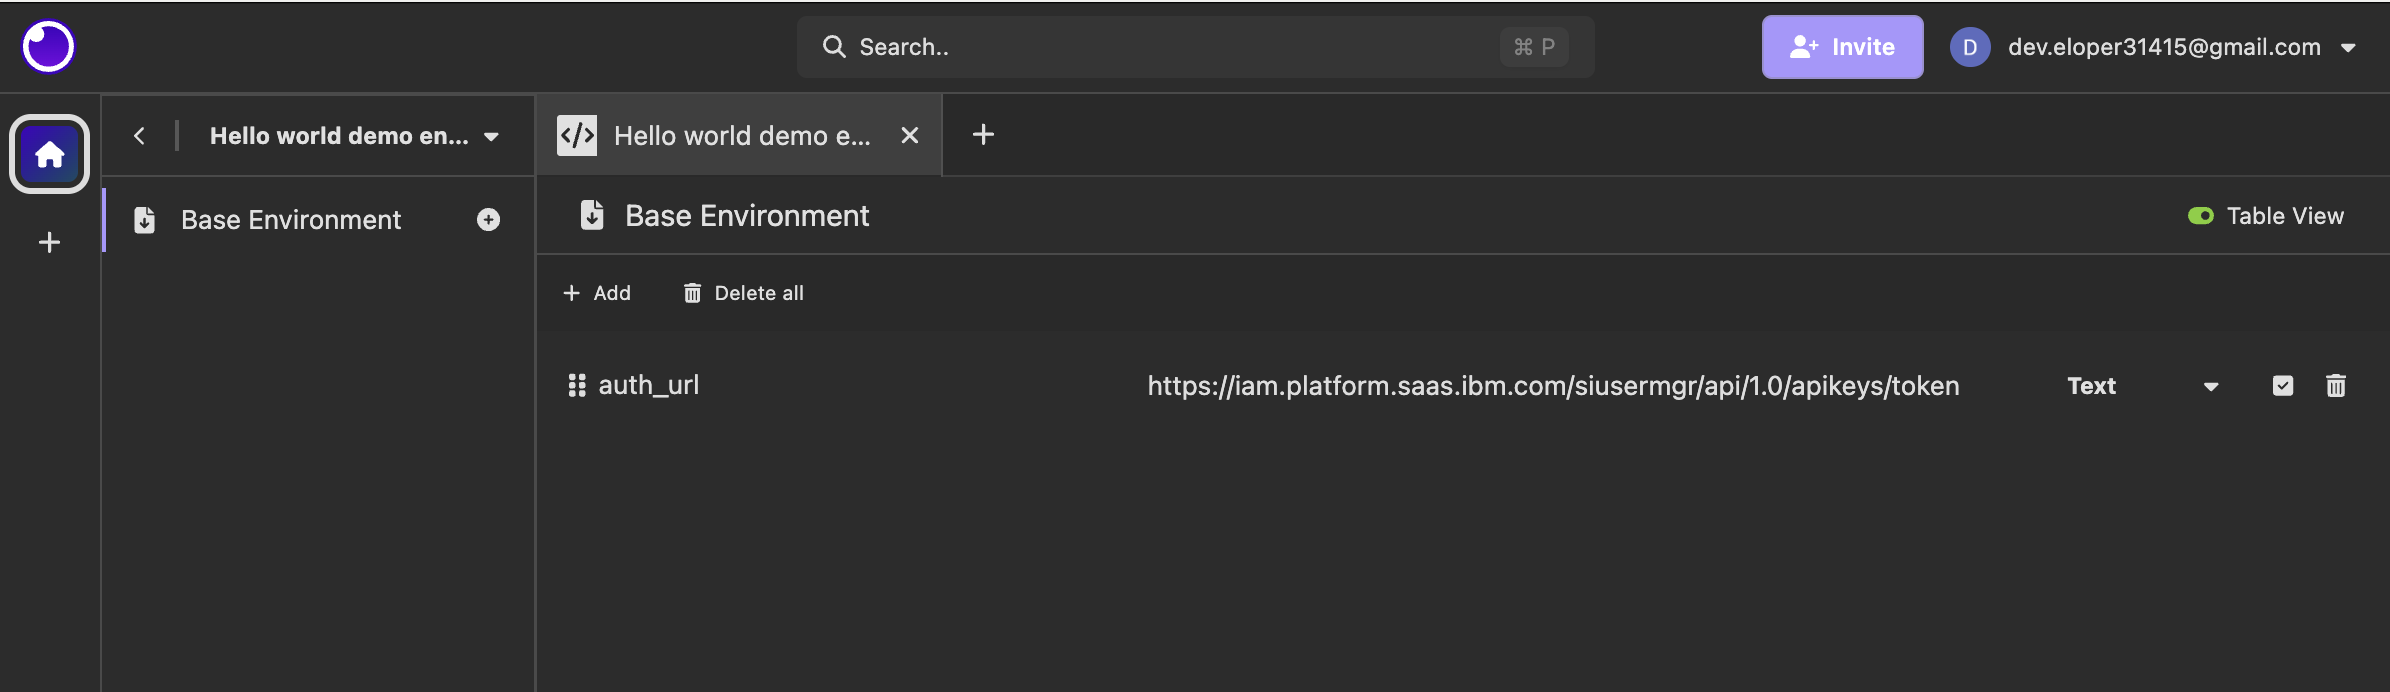
Navigate into your enviornment by clicking on it, and then add your first environment variable "auth_url". The url for generating auth tokens is documented here.
Your environment should look like this:
-
Next we need to add two more enviornment variables: API key and tenant URL. The API key and tenant url can be found in the settings menu of your watsonx Orchstrate tenant.
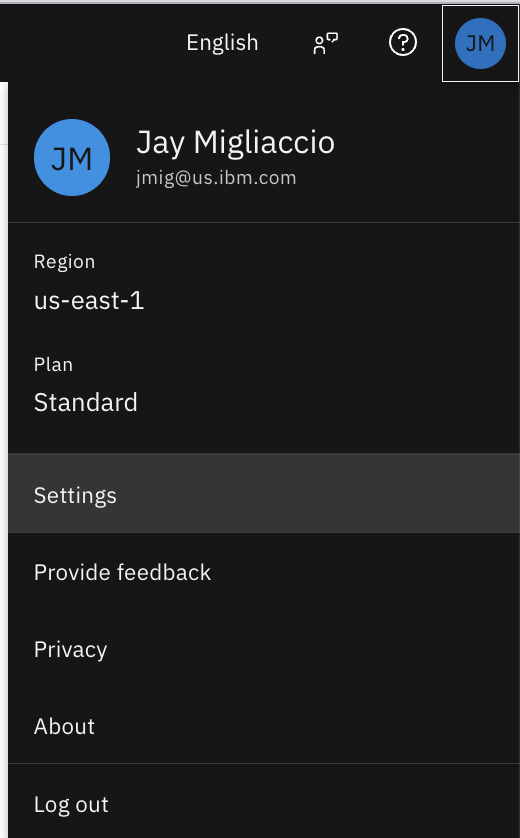
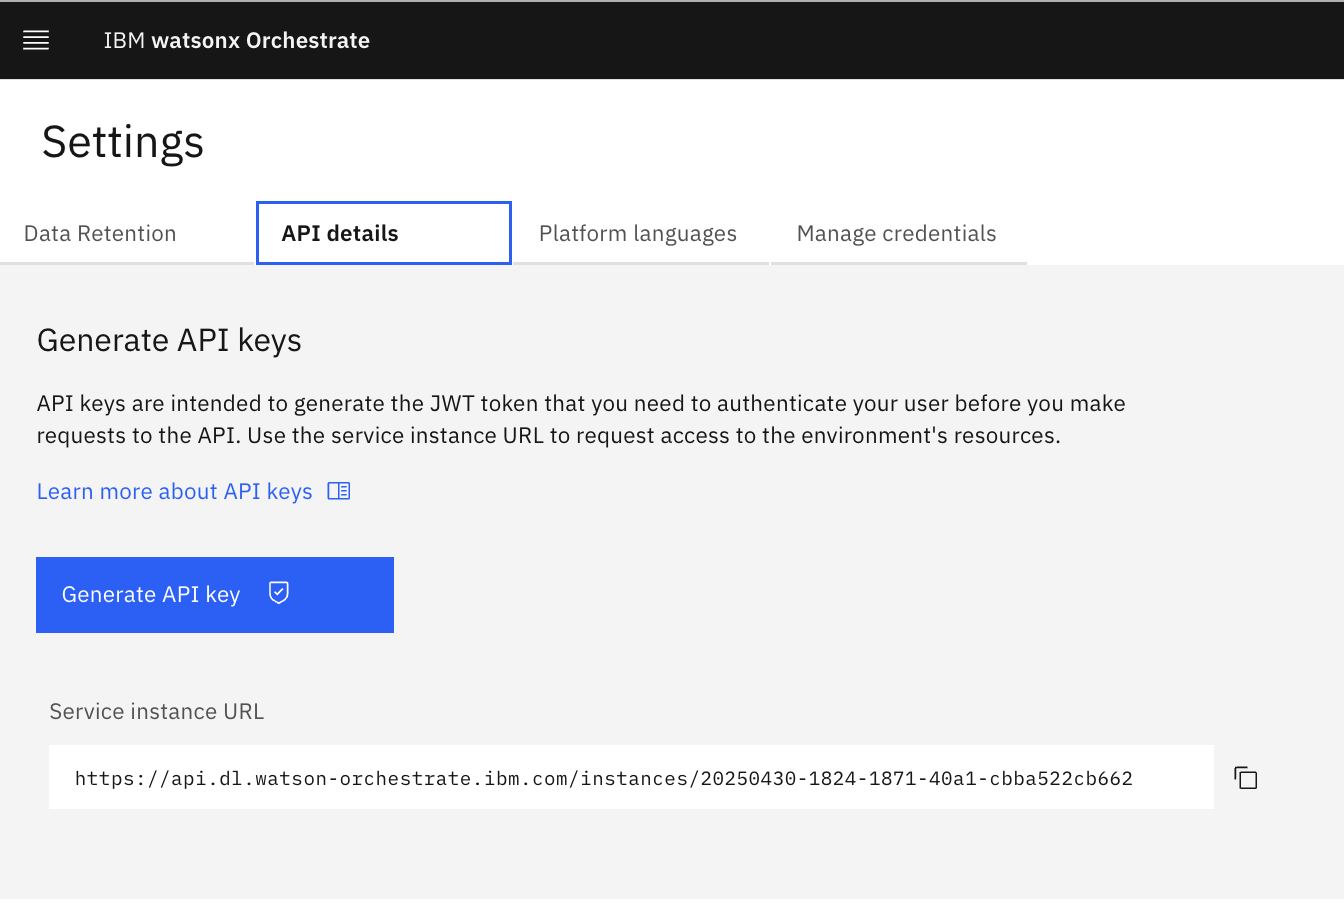
Here is a view of the configured environment
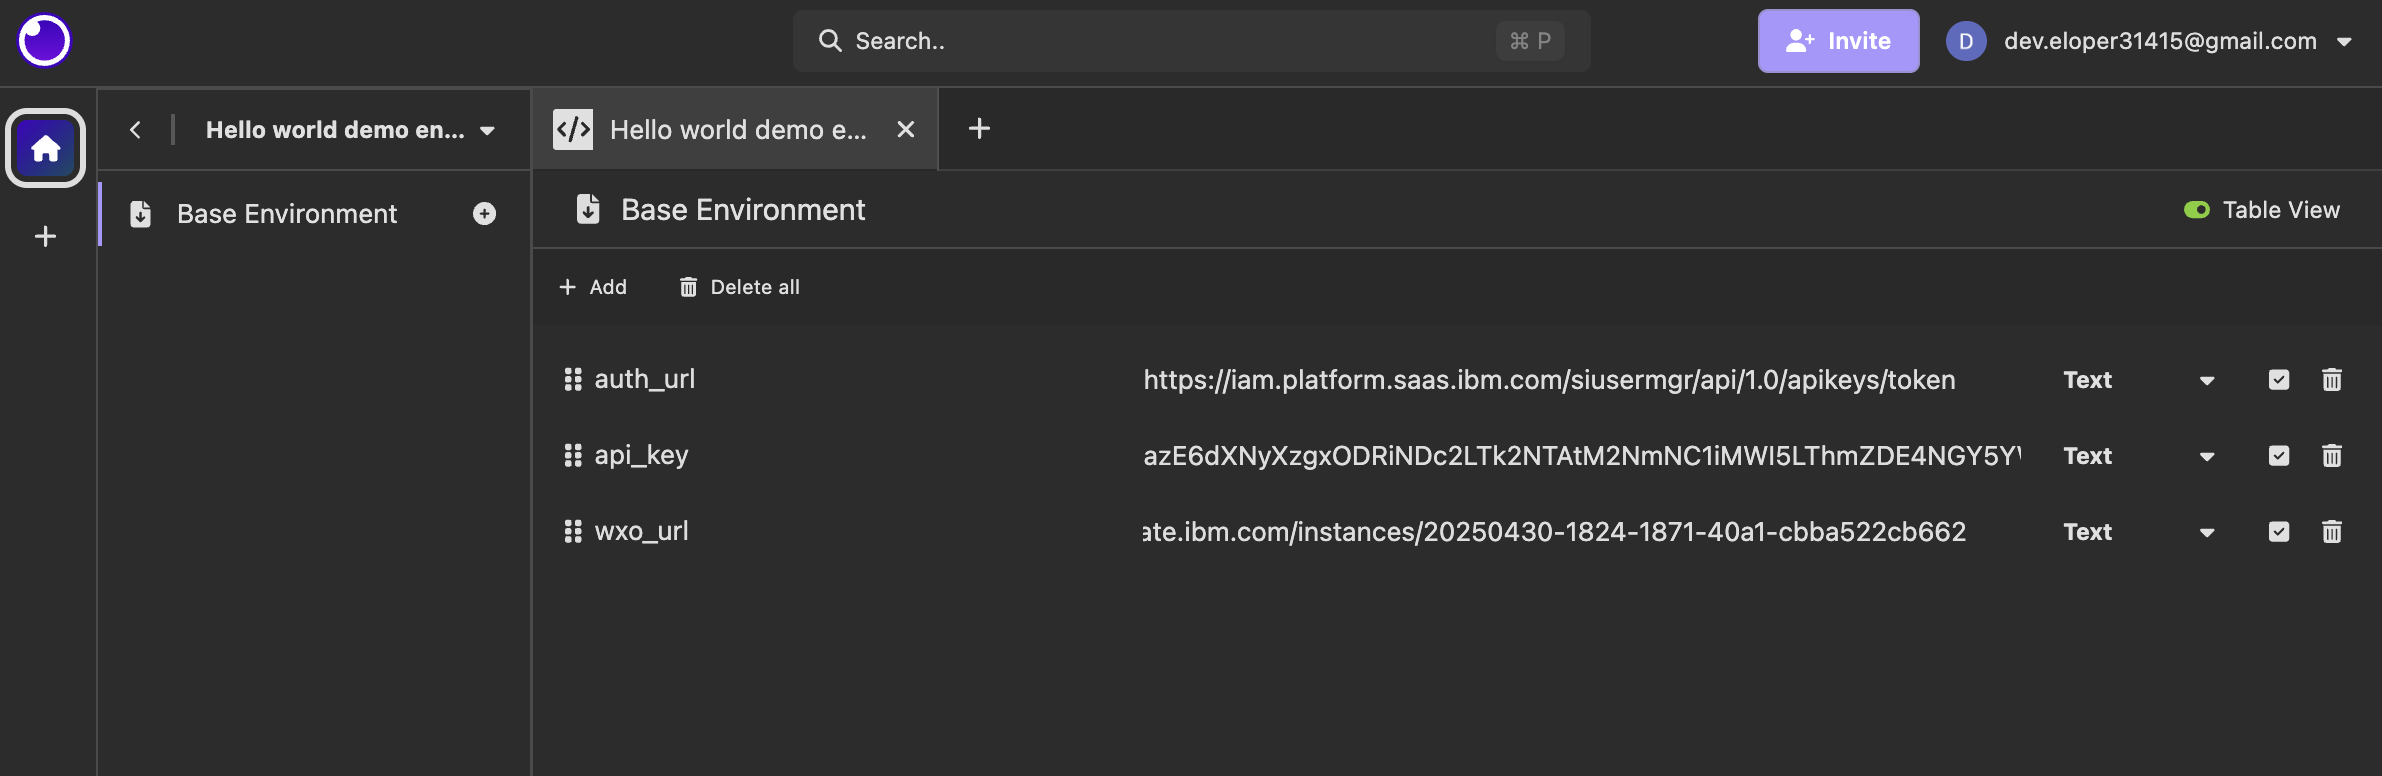
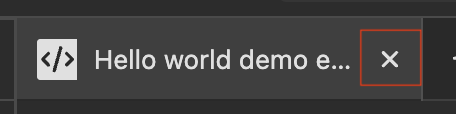
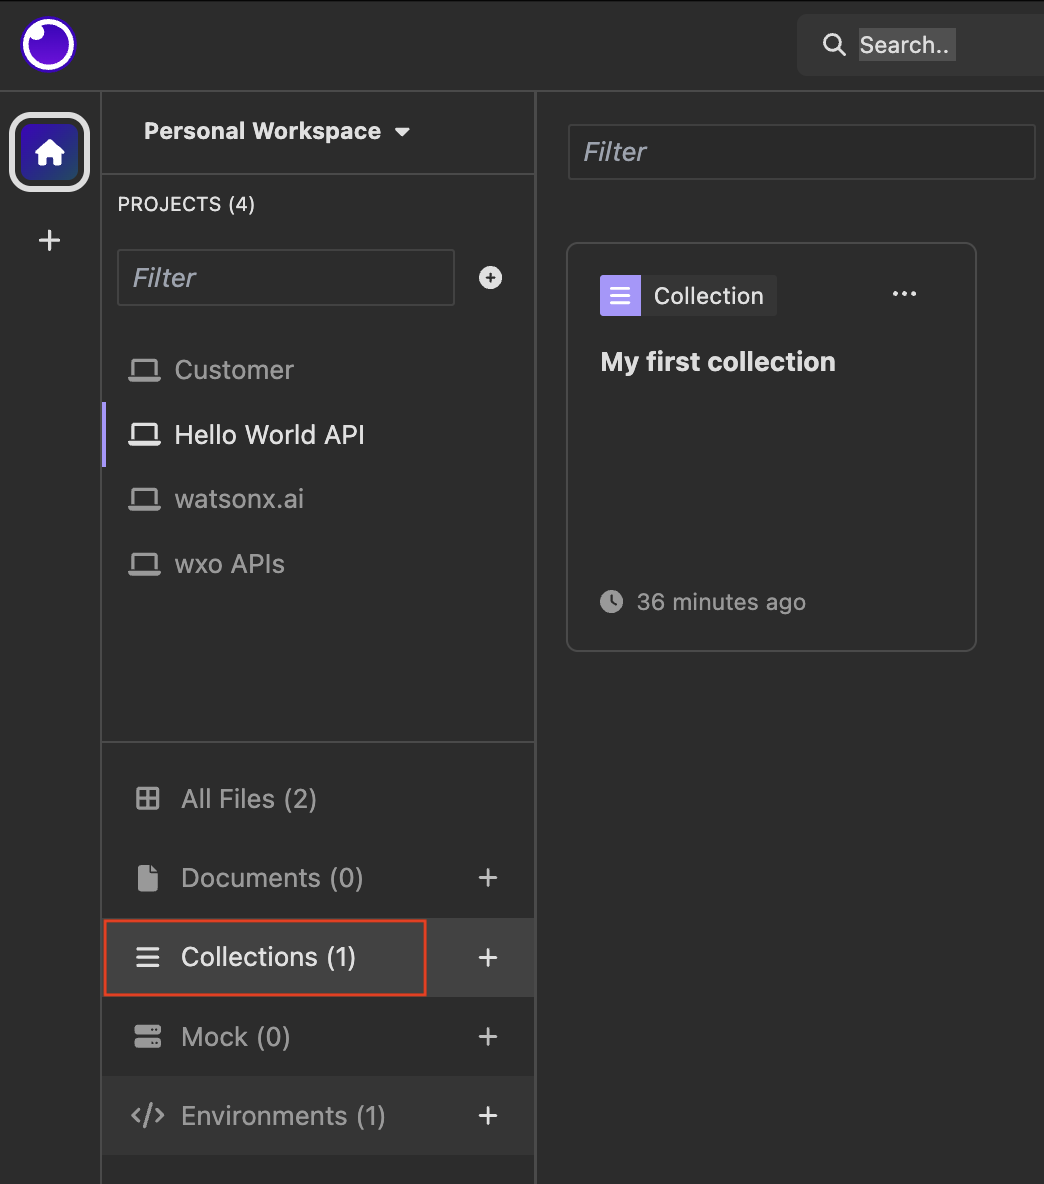
You can now exit the enviornment by clicking on the X in the tab, and then open up your collection by clicking on Collection, as shown in the screenshots:
-
Now we will configure an API call to generate a token. This API is documented here. Start by opening up your collection by clicking on it.
-
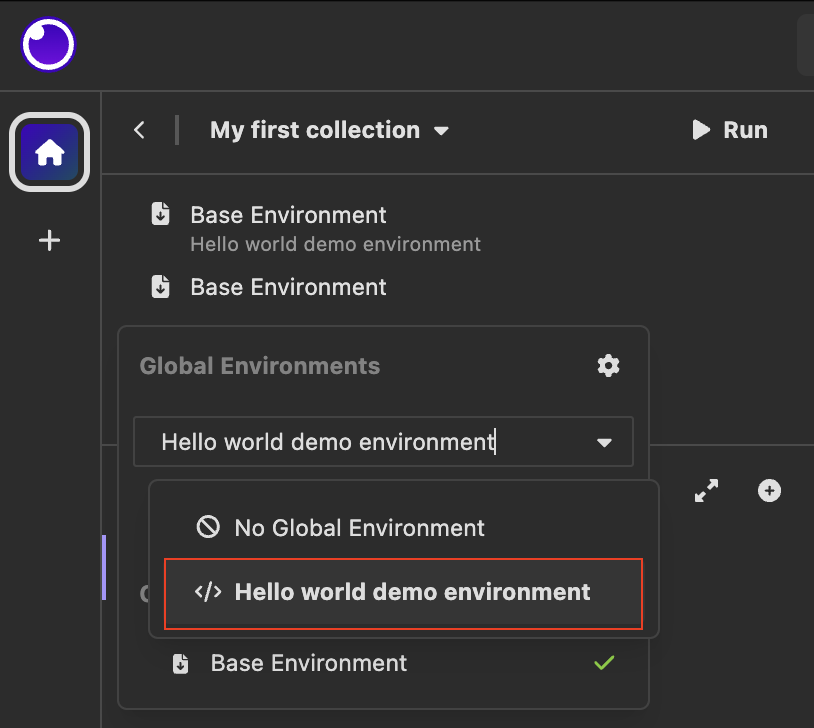
Select your environment, so the API call can use the variables you just created. In the top left of Insomnia, click on Global Settings drop down menu and select the "Hello World Demo Environment".
-
You should be prompted to create your first HTTP API call. Since this is a POST, you need to select POST from the drop down list.
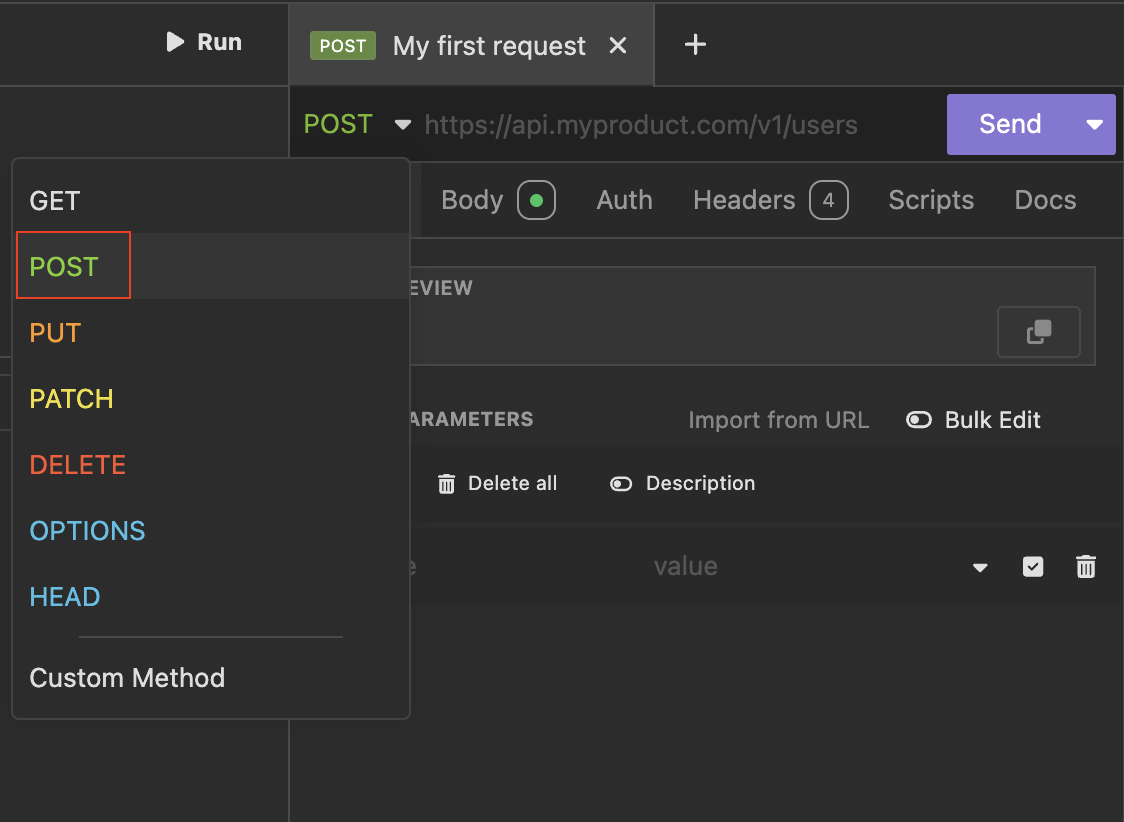
-
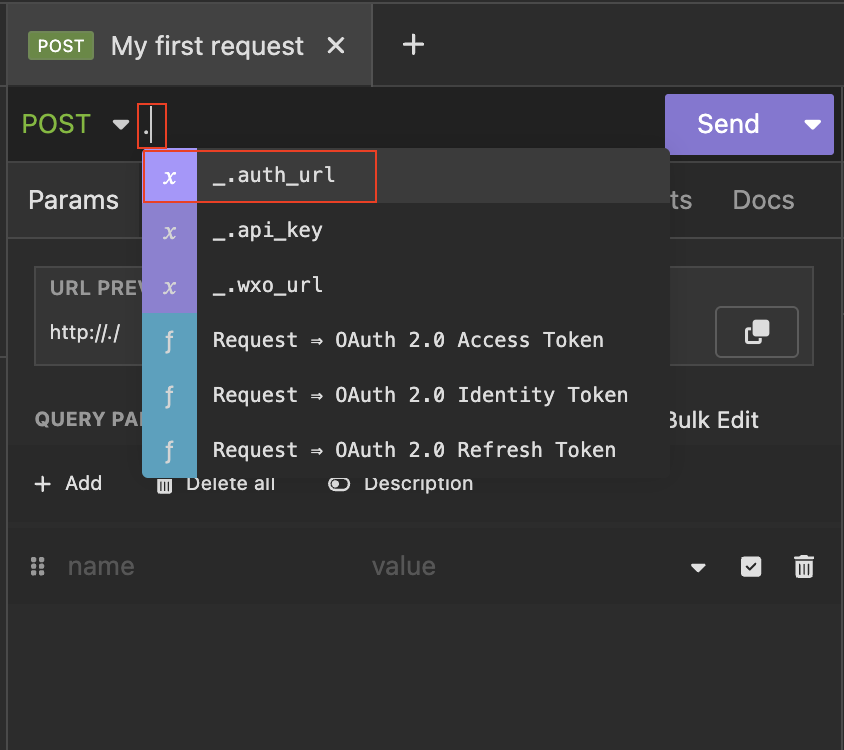
Now we will insert the variable for the URL. By typeing a period "." in the URL box, a list of available variables will appear. Select the _.auth_url from the list.
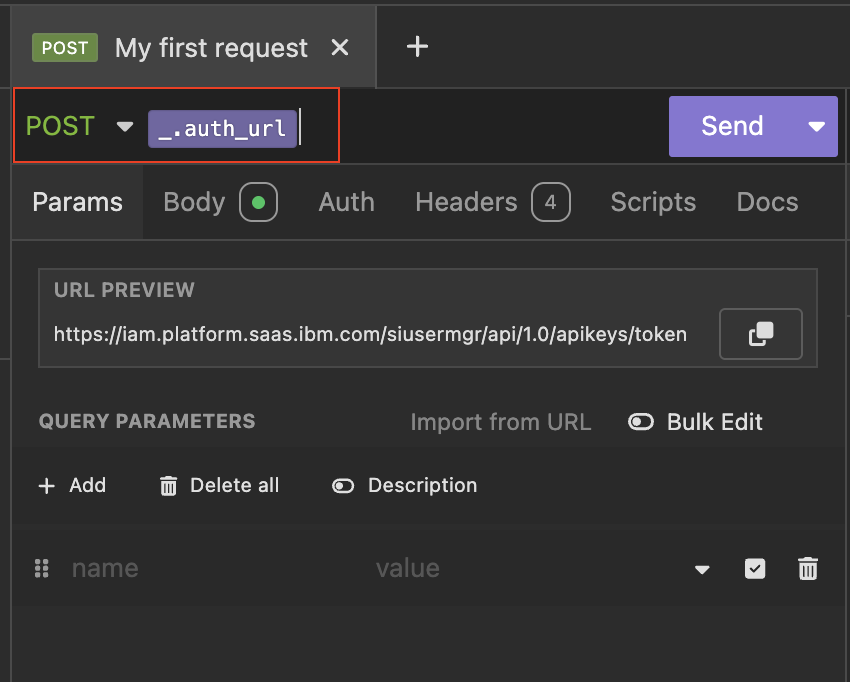
Here you can see what the correctly configured URL field should look like. Note how the preview field below shows the actual URL using the value of the variables
-
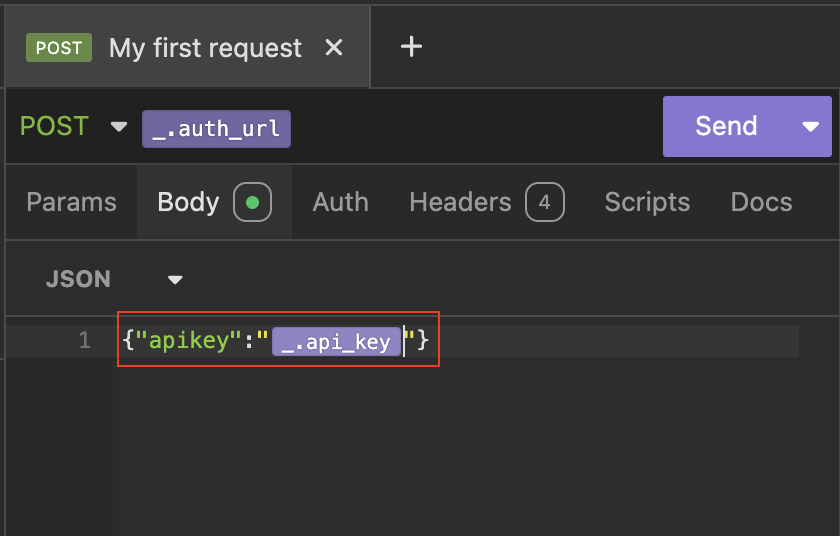
Now we will configure the body of the HTTP call to include the API Key. In the body section, type
Then insert a "." for the value of the API key, and a drop down list will appear with the available variables. Select _.api_key from the list.
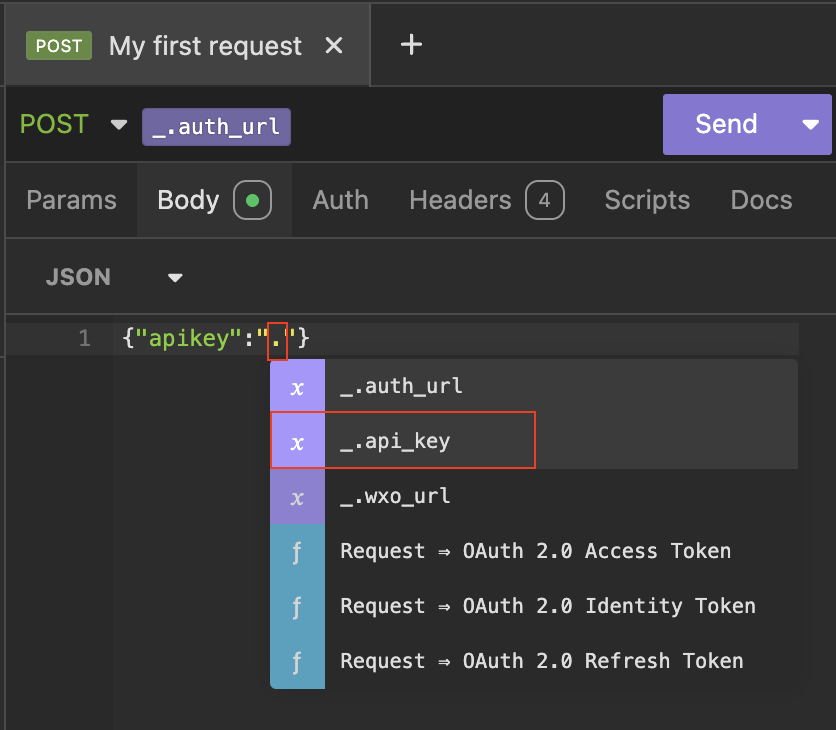
Here you can see what the correctly configured body looks like, with the variable as a placeholder for the value of the API key.
-
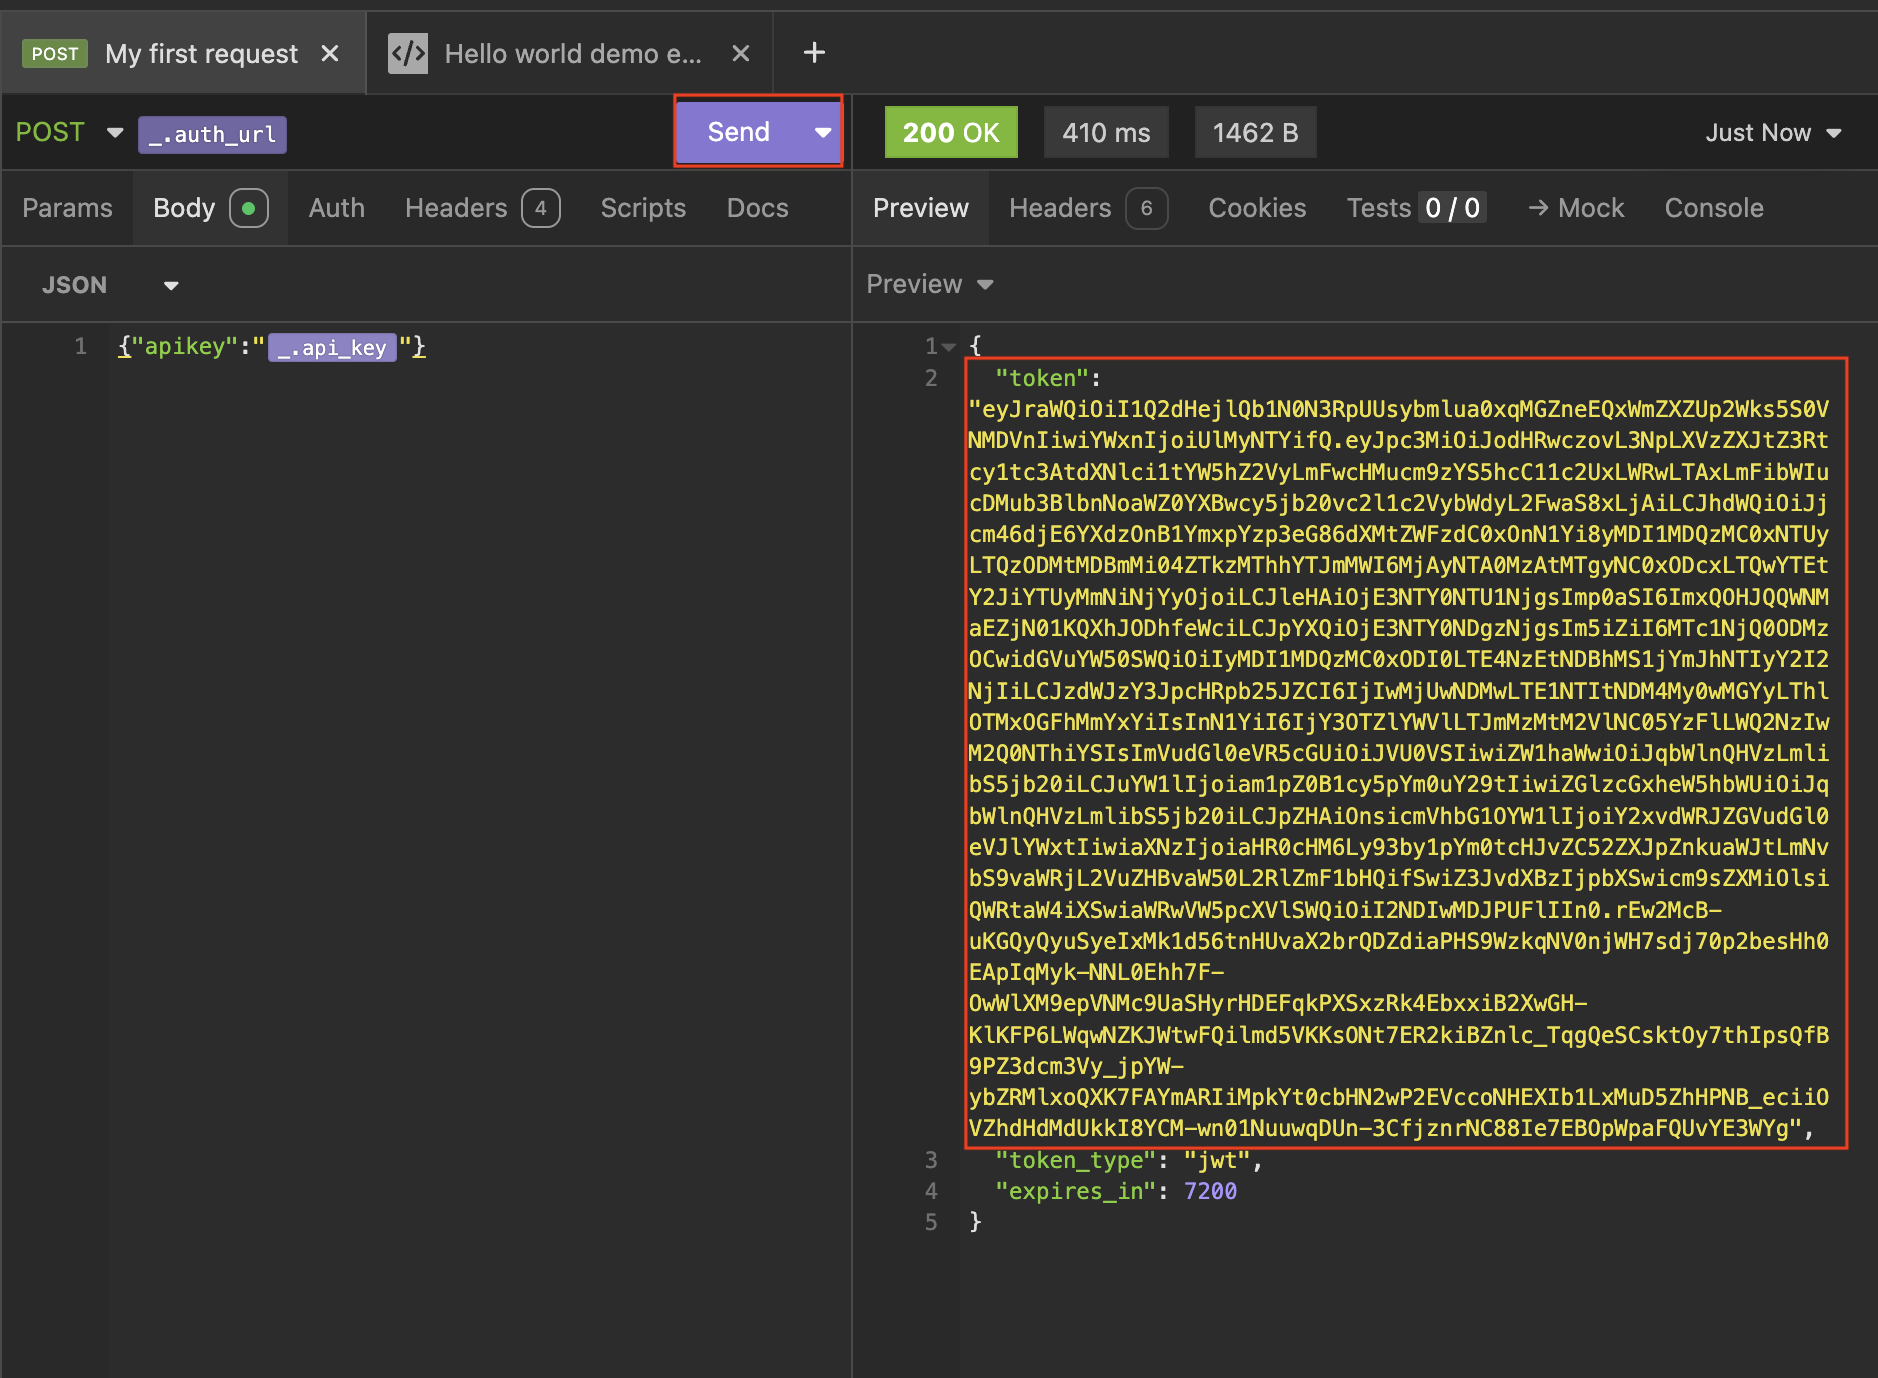
Now you are ready to test. Click the SEND button. You should see a response payload that includes the token.
-
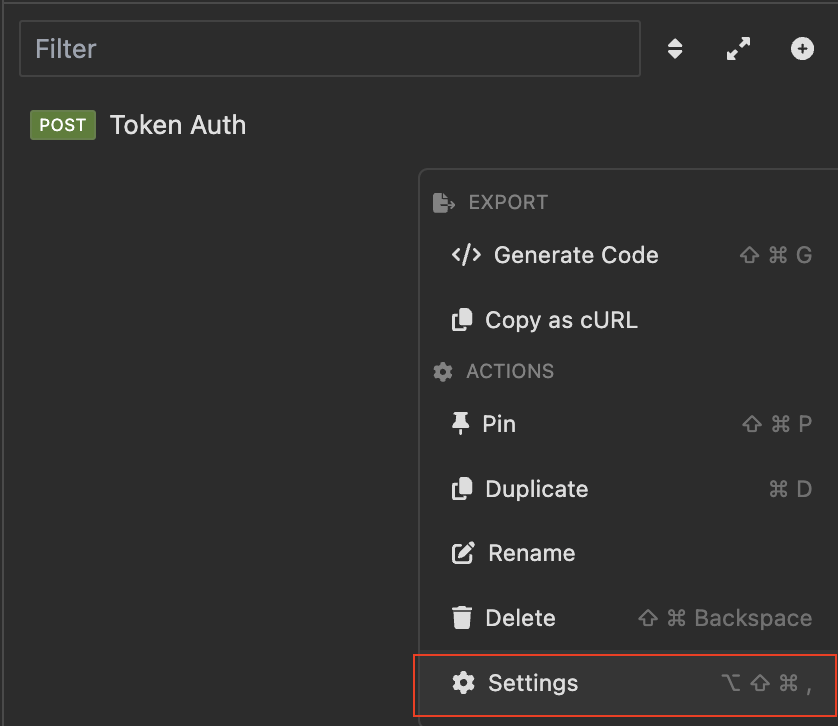
To prevent confusion with other HTTP requests, let's rename this first HTTP call to "Token Auth", by clicking on the settings menu option and updating the name.
Congratulation! You are now ready to find your agent ID using the /agents API
Finding the Agent ID via /agents API
Ready for the next step? Click here to list your agents.